Creating a New Project
From Eclipse, select ‘File -> New Project…’.
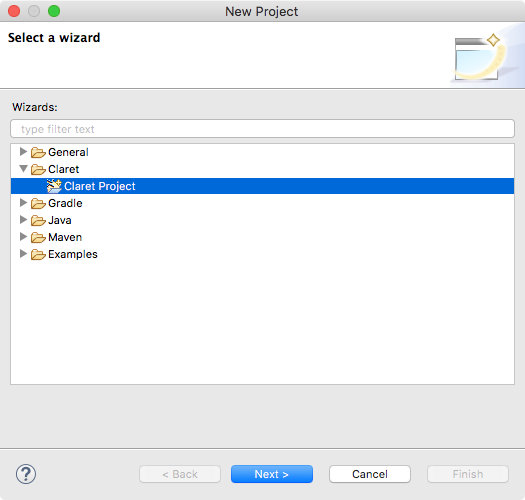
In the ‘New Project’ window, select ‘Claret -> Claret Project’ and hit ‘Next’ button.
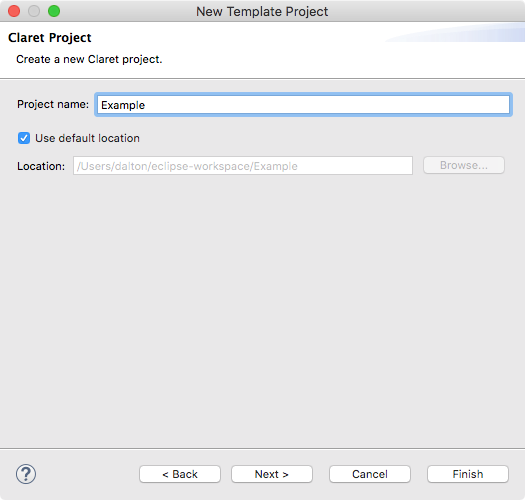
In the ‘New Template Project’ window, type an name in the ‘Project Name’ field and hit ‘Finish’ button.
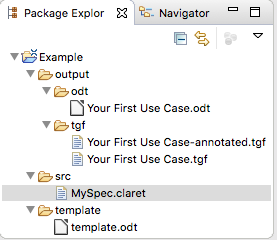
The project is created with a new specification file called ‘MySpec.claret’ in the ‘src’ folder. Rename it to a better name and replace the content with your use cases.
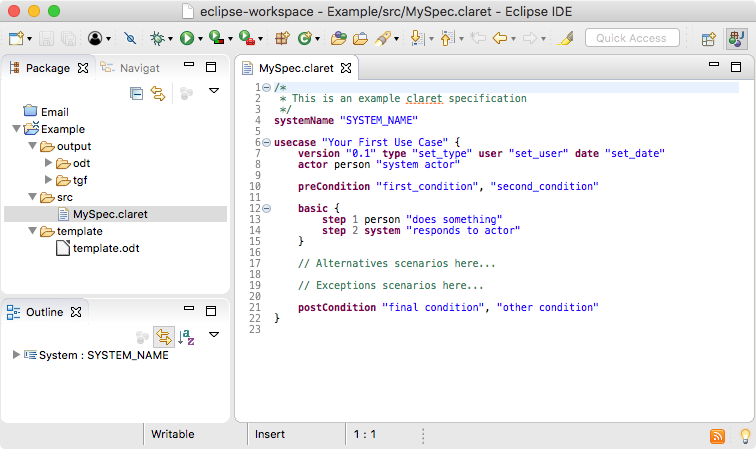
The ‘Package Explorer’ window shows all files and folders from your project:
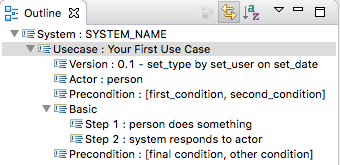
The ‘Outline’ section shows all nodes from the system:
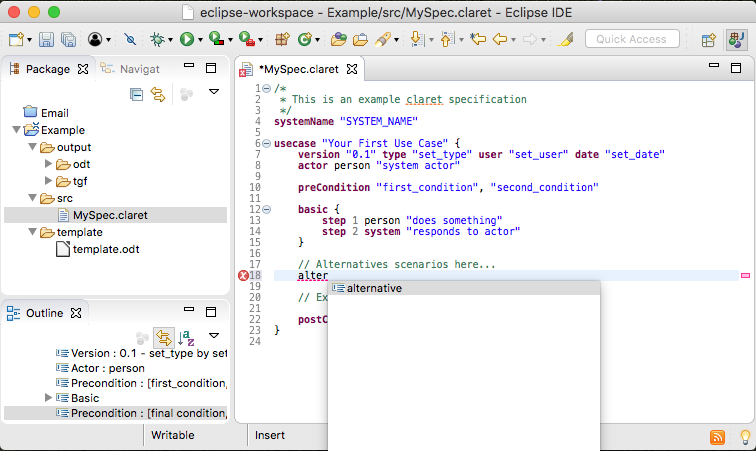
The auto-complete (Ctrl + P) feature lists the expected options in context: